Add Nodes in Bulk via GCP
Cloudhouse Guardian (Guardian) offers the ability to import nodes in bulk from a number of sources, including AWS, Azure, CSV files, and more. This topic describes how to add nodes in bulk by importing them into your Guardian instance via Google Cloud Platform (GCP).
To add GCP nodes in bulk, you can choose to use an Existing integration, or Manually enter credentials for a temporary connection to the GCP source. For more information on each method, see below.
Note: Any existing nodes that are detected are not re-added to your Guardian instance. If any changes have occurred on the node since the last import, the existing node is updated accordingly.
Existing Integration
If you have set up a Guardian integration with GCP previously, you can use the existing credentials to authenticate Guardian’s access.
Dependencies
To import nodes in bulk via GCP, a Linux Connection Manager configured within your Guardian instance is required. For more information, see Linux Connection Manager.
To add nodes in bulk using an existing GCP integration, complete the following steps:
-
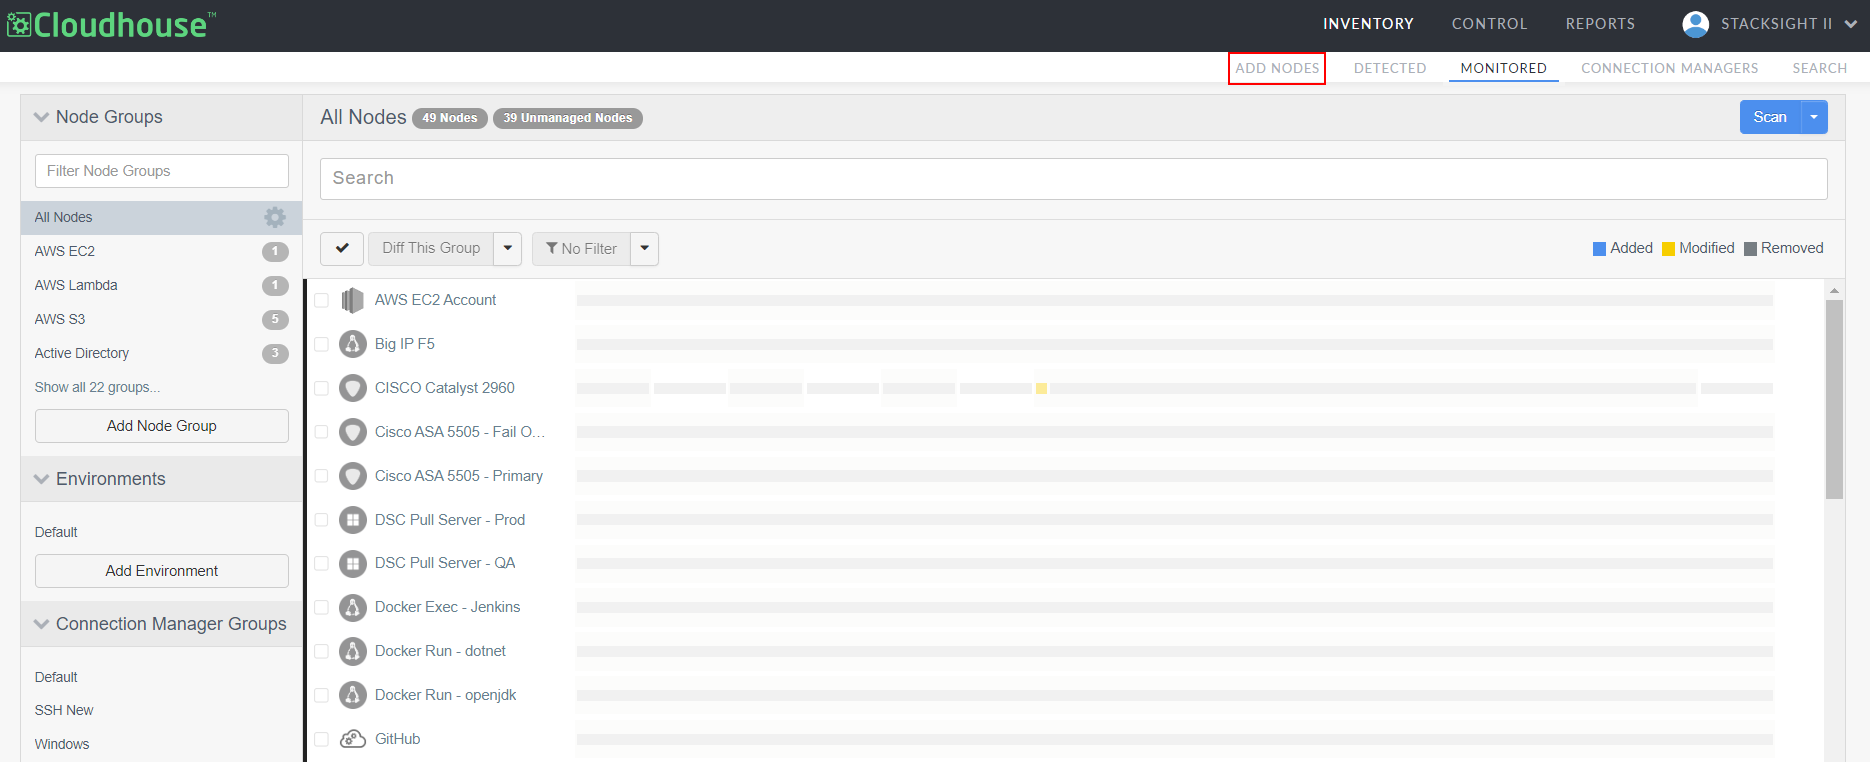
In the Guardian web application, navigate to the Add Nodes tab (
-
Click the GCP button. The Add Nodes via GCP page is displayed.

-
Select the Existing integration radio button to display the following options:
Option
Description
GCP Integration credentials drop-down list
Existing GCP Integration credentials. Select an integration from the drop-down list to use the stored credentials for authentication. For more information on how to setup an integration to GCP, see GCP Integration.
Check things you want to detect checkboxes
The option(s) you want to add to Guardian for monitoring. Select the checkbox(es) you want to detect. For example, ‘Storage Buckets’. For more information on the GCP services supported by Guardian, see Supported GCP Services.
Ignore ephemeral nodes checkbox
Option to ignore ephemeral nodes. If selected, ephemeral nodes are not imported or included in node scans.
Remove ephemeral nodes checkbox
Option to remove ephemeral nodes. If selected, ephemeral nodes are removed from the Guardian import list.
-
Once you have set the correct values for each of the options displayed, click Sync Now to add the GCP nodes to your Guardian instance.
Once complete, any nodes that are detected within GCP are automatically added to the Detected tab (Inventory > Detected). Here, you can choose which nodes you'd like to promote to the Monitored tab (Inventory > Monitored) for regular scanning. For more information, see Detected Nodes.
Manually Enter Credentials
Alternatively, you can manually enter the credentials required to authenticate Guardian’s access to the specified GCP region(s). Then, you can (optionally) create an integration using those details to continuously sync Guardian with your GCP region(s), meaning that you don't have to re-import your node set once they've been updated as Guardian will automatically detect any new or updated nodes.
Dependencies
To import nodes in bulk via GCP, the following dependencies must be met:
-
Linux Connection Manager – Configured within your Guardian instance. For more information, see Linux Connection Manager.
-
Google Service Account – Set up with the JSON Web Token (JWT) generated. For more information, see Google Cloud Platform Service Account.
-
Service Permissions – Permissions set for the service intended to be scanned. For more information, see Supported GCP Services.
To add nodes in bulk from GCP without using an existing integration,, you can manually enter credentials by completing the following steps:
-
In the Guardian web application, navigate to the Add Nodes tab.
-
Click the GCP button. The Add Nodes via GCP page is displayed.
-
Select the Manually enter credentials radio button to display the following options:
Option
Description
Connection Manager group drop-down list
The Connection Manager group that is responsible for scanning your GCP node(s). Select a Connection Manager group from the drop-down list.
GCE service account JWT upload field
The JSON Web Token (JWT) JSON file that is required to verify Guardian's access to your GCP instance. For more information on how to generate a JWT, see Google Cloud Platform Service Account.
Create An Integration checkbox
Option to store the credentials and create an GCP integration that checks for nodes in your GCP environment every two hours. For more information, see Job Schedule (Control > Job Schedule).
Note: If you choose to Create An Integration, the integration is added to the Integrations tab (Control > Integrations), see GCP Integration for more information. Any nodes that are detected in your environment are then added to the Detected tab for processing. For more information, see Detected Nodes.
If selected, the GCP integration name and Automatically start monitoring and scanning detected nodes options are displayed.
GCP integration name field
The display name for the GCP integration. Once created, the integration is displayed in the Integrations tab.
Note: This field is only displayed if the Create An Integration checkbox is selected.
Automatically start monitoring and scanning nodes checkbox
Option to automatically start monitoring and scanning your nodes once the GCP integration has been created. If selected, the imported nodes are automatically added to the Monitored tab for regular scanning. Here, you can apply policies, create node groups, and schedule regular scans. For more information, see Monitored Nodes.
If not selected, the nodes are added to the Detected tab for processing. To monitor the detected nodes, you must move them to the Monitored tab. For more information, see Nodes.
Note: This option is only displayed if the Create An Integration checkbox is selected.
Check things you want to detect checkboxes
The option(s) you want to add to Guardian for monitoring. Select the checkbox(es) you want to detect. For example, ‘Storage Buckets’. For more information on the GCP services supported by Guardian, see Supported GCP Services.
Ignore ephemeral nodes checkbox
Option to ignore ephemeral nodes. If selected, ephemeral nodes are not imported and not included in node scans.
Remove ephemeral nodes checkbox
Option to remove ephemeral nodes. If selected, ephemeral nodes are removed from the Guardian import list.
-
Once you have set the correct values for each of the options displayed, click Discover Nodes to add the GCP nodes to your Guardian instance.
Once complete, any nodes that are detected within GCP are automatically added to the Detected tab. Here, you can choose which nodes you'd like to promote to the Monitored tab for regular scanning. For more information, see Detected Nodes.